Your Cart is Empty
🎄INTERNATIONAL ORDERS CLOSE ON 12th DEC & DOMESTIC ORDERS CLOSE ON 19TH DEC FOR GUARANTEED CHRISTMAS DELIVERY - XMAS20 FOR 20% OFF ALL ORDERS🎄
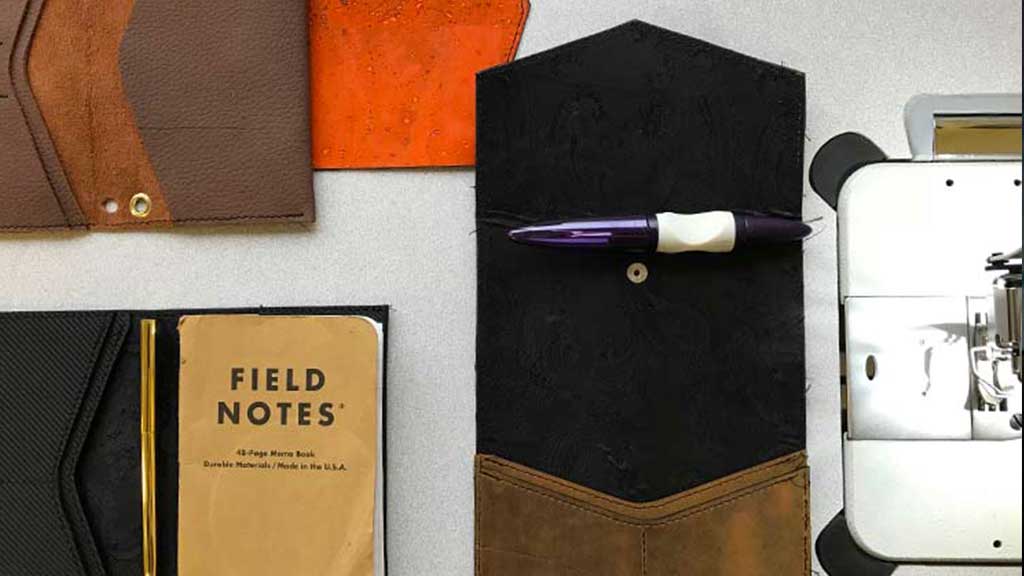
Recently, we had the end of our travel wallet Kickstarter campaign occur. In preparation for this, we had to come up with a system for presenting 252 different wallets to our backers that was navigable and also useful to us for manufacturing.
Making 200+ wallets in one month might not sound like a lot, but when you're doing it by hand, it is. Perhaps you're a seasoned leather worker, which puts you at a great advantage but there's many, many other processes involved before we can even begin cutting any leather.
Every process requires meticulous attention to detail. One wrong move and you could ruin the leather, the lining, the edge finish, the stitching and so on. There's a lot of equipment involved in making each wallet, some of which requires specialist training to use and some that requires specialist safety gear to be worn. Fortunately, we already had many of these bits of equipment from our day to day jobs but some we had to source especailly for this campaign.
First, we need to know how much of each wallet we need to make. For this, we're relying on our backers filling in their surveys as quickly as possible (in order to begin making the wallets as soon as we can). Once our backers have selected their wallet (or wallets in some cases), we can begin laying out a plan for lining the leathers.

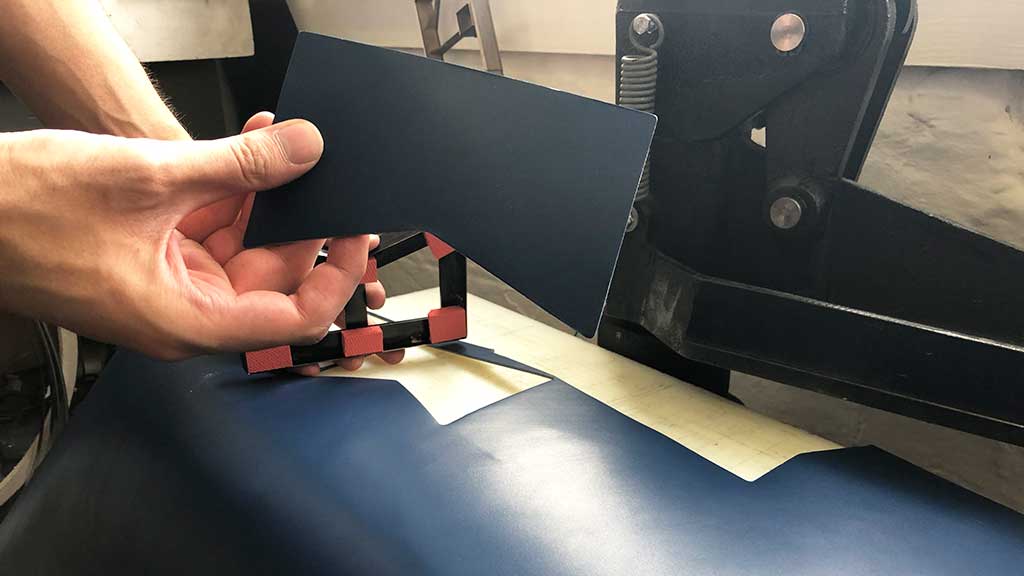
Once we've bonded the lining to the leather, we can cut them to the required shapes. Fortunately, we don't have to do this all with knives and cutting guides: we can use our trusty press and our specially made strip knives to cut quickly and accurately.
Now we have the separate components cut out, we finish the edges and paint the interiors before final assembly.
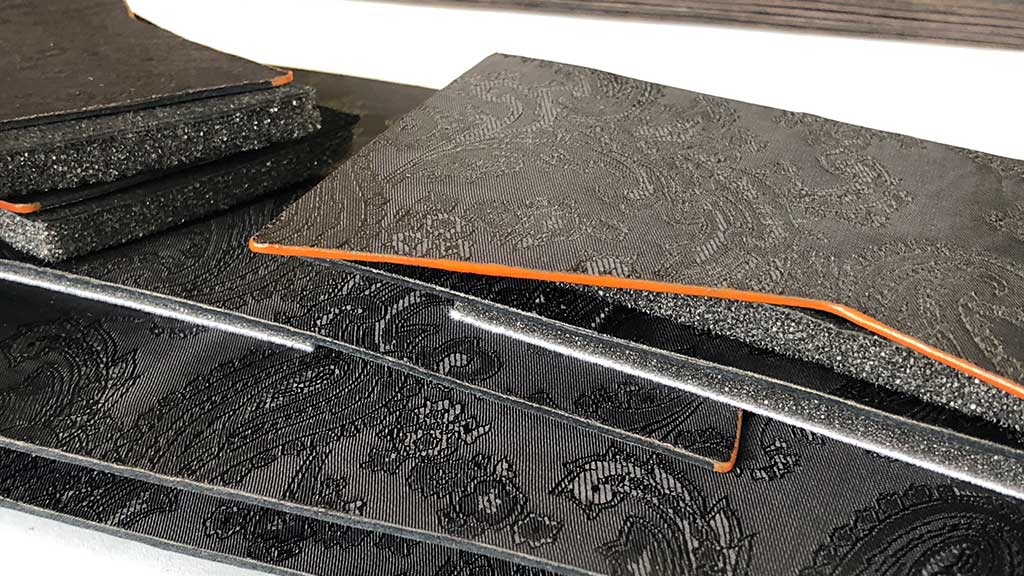
When these pieces have dried, they're ready to be sewn together on our beast of an industrial sewing machine.
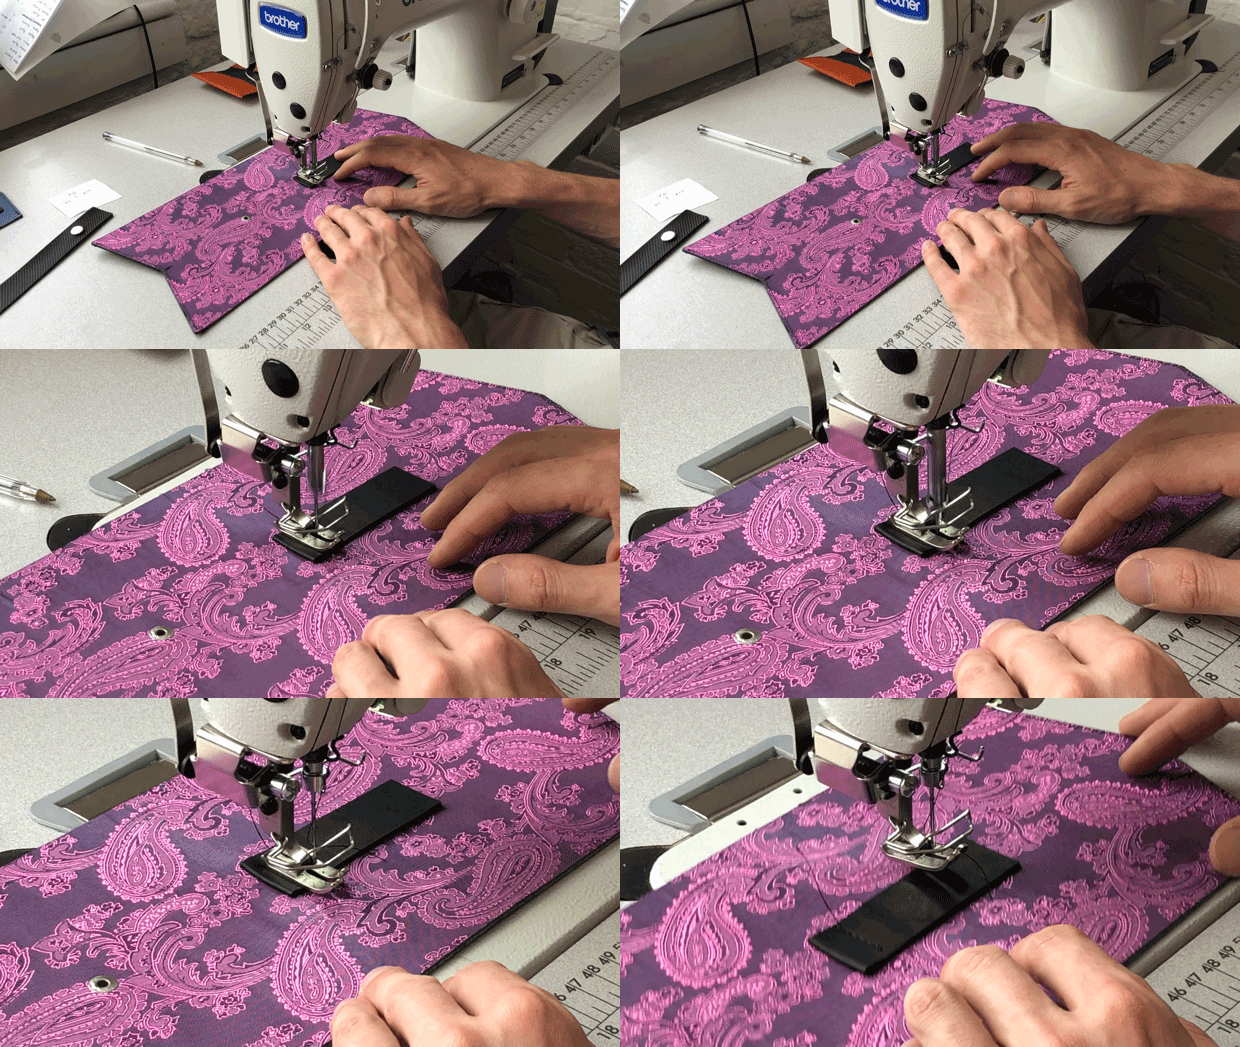
Try not to watch this gif too much, it may give you a headache.
I'll leave some space so you can shut it out above...
-
-
-
-
-
-
-
-
Back to it!
Now we have a functioning wallet all sewn together. The final touches are all that are required, which includes a few coats of basecoat edge paint in preparation for the top coat.
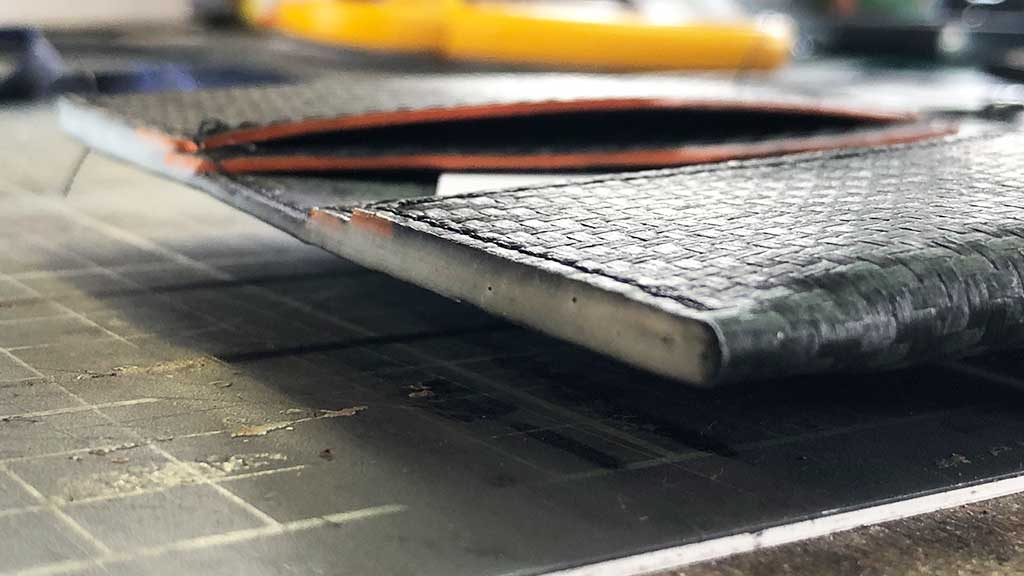
Multiple coats will be applied to create a smooth, consistent surface for the top layer of paint. In between each coat, the surface needs to be sanded down to get rid of imperfections before the next layer is applied. By applying the preparation coat, gaps and variances are filled in and a smooth surface is achieved. Some wallets take only one or two coats, some take many more depending on the nature of the leather used.
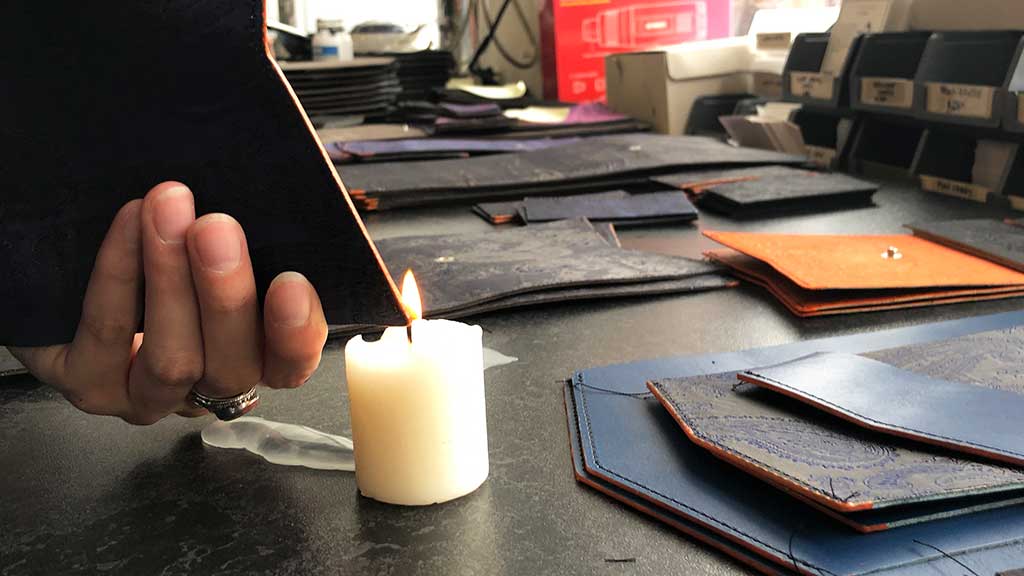
After all that, there's a few final steps prior to being ready to ship. Not every wallet will require it, but any loose threads needs to be tied up and sealed (with fire!). The engraving plate will be added to each wallet, featuring either the engraving of the backer's choice or our company name.
The wallet is then checked over for any outstanding things to be cleaned, fixed and so on. Once we're sure the wallet is complete, then, and only then , does it get packed up, ready to be shipped out to its awaiting owner.
So what's the key to getting this done and not collapsing? Organisation. You'll have to create an infrastructure that will allow you to operate flexibly and react to backer changes and requests but also operate efficiently in order to maintain a good rate of output. Create a production schedule and stick to it. Remember to take a break every now and then, otherwise you will end up collapsing.
Comments will be approved before showing up.